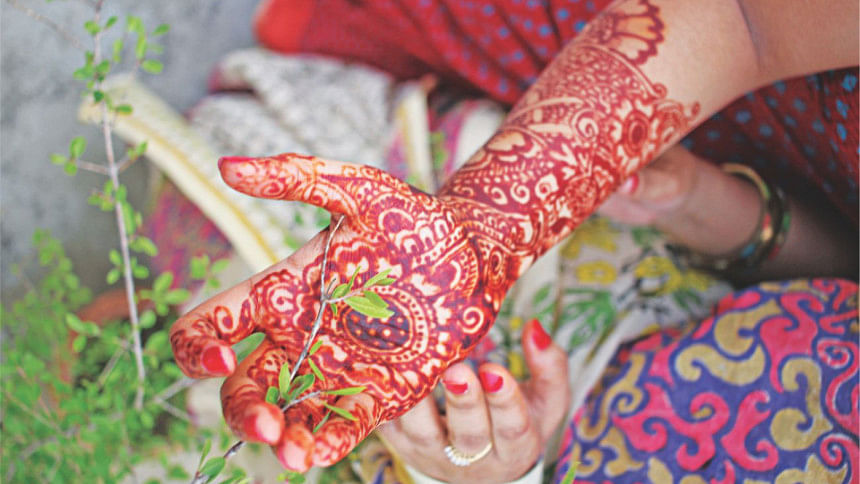
Henna Designing for Dummies

Rather than feeling useless while someone else applies henna on you, would it not be so much better if you could just do it yourself? Contrary to popular belief, henna designing does not take hundreds of trials on people who offer themselves as test subjects for you to master the art, given, of course, you approach it properly.
Choosing which henna to use
The most common kinds of henna are the natural, the black and the “active gold” variants. The main issue with natural henna is that the colour quality tends to vary, and it generally produces lighter shades of red and orange. People do tend to have more allergic reactions to black and “active gold” henna, so use with caution. One thing you could do is to apply a very small amount on your hand and wait to see if there are any adverse reactions, and proceed accordingly. The advantage, however, is that they produce a much deeper colour and they dry a lot faster.
Devising a design
It's always best to have a game-plan before getting your hands red. Know what kind of design you want to do. Initially, it is wise to start by copying designs with pen and paper, so you can understand how they progress from a starting point and see which your forte is. Experiment with fractals, try out different shapes and fill them with intricate designs. Your designs do not have to be restricted to just paisleys and flowers; try doing patterned peacocks or geometric shapes.
Before applying the henna
Change into something that cannot come in contact with the area you are applying henna on. Time may heal all wounds but no amount of time spent will remove a henna stain from fabric. Also, chill the henna slightly before starting because it helps prevent the henna stain from “bleeding” once you apply it. Always have a tissue and a standard pin close by. Sometimes the nozzle can get jammed and piercing it helps.
During application
While drawing the design on paper with a pen does help understand it, doing it with henna on skin is quite different. You'll always have to resize the design you thought of to fit into the shape and folds of the skin. Perfectly resizing is almost impossible. Therefore, you will need to know how to improvise. So there isn't enough space for another flower? Draw a smaller leaf or add a series of dots. Sometimes, just after you started, it will not look anywhere near as you thought it would. Instead of mentally chanting Ctrl+Z, the best option is to just continue, because once the whole design is completed, minor flaws won't be noticeable.
Drying and preservation
This is a test of patience. Rule of thumb: the longer you let it dry, the richer the colour will be. Be very careful about where you move and how you position yourself. Whatever you do, do not wash it off with water. Once you have successfully dried it till it starts flaking off, apply a thin layer of oil, preferably sesame oil, so that the henna stays longer.
Aaand you're done! All that's left now is to show it off on Facebook!
With a keen eye and a broken brain to mouth filter, Mahejabeen Hossain Nidhi has a habit of throwing obscure insults from classic novels at random people who may or may not have warranted them. Drop her a line at [email protected].

 For all latest news, follow The Daily Star's Google News channel.


Comments