Many of us are fascinated by aquatic life and aquariums. What sounds the most tedious of all is taking care of and maintaining the ecosystems of these fishes. When it comes to cleaning aquariums or fish tanks, the job gets tricky. However, here are step-by-step solutions for clearing the burden of that huge task off your head.
Step 1: Get yourself tidy
Washing hands properly. Wearing fish tank gloves reduces the risk of transmission of bacteria to the tank. You might also wear a face mask for your protection.
Step 2: Do the big task first
Pour some tank water into a bowl and place your fish using an aquarium fish net. This ensures the fish's ideal pH, nutrition, and temperature levels to thrive. However, if you are attempting professional cleaning using an aquarium siphon, there is no need to displace the fish. An aquarium siphon (also known as aquarium vacuum, gravel vacuum, or gravel cleaner) is an equipment with a tube that sucks the debris and water out of the fish tank.
Step 3: Clean the Inner walls
Wipe out the inside walls of your tank with an algae pad, a non-scratch sponge used to remove algae easily from the walls of a glass or acrylic aquarium. If the residue is difficult to remove, scrape it with a scraper, plastic blade, or razor. A saltwater aquarium may have salt residue on the side walls. Clean them out with a wet towel or sponge.

Step 4: Get rid of the water
Changing water is one of the most fundamental tasks while maintaining an aquarium. If you use a siphon, a rule of thumb is to change 25 per cent of the water every 2 to 4 weeks.
Another more typical way of doing it in households is to empty the entire water tank before adding new water. The fish need time to adapt to the changing environment. Hence, draining out all the water and keeping your fish outside its tank poses a threat. In the long run, it is not sustainable for your fish life to change more than 40 per cent of the water. So, it is better to do it properly by investing in the proper equipment to ensure a safe life for your aquatic creatures.

Step 5: Cleaning the gravel
Before proceeding further, turn off the electrical supply (lights, pump, and filter). Take out all the pebbles. Use a sieve and drain them with pure water until clear water runs out and all the debris is removed. Remember to not use any detergent, cleansing agent, or soap in any of these cleaning processes involved with aquariums. The chemicals in such products can be fatal to fish.
The best way to clean gravel (loose rock fragments, pebbles, and sand) is by using an aquarium vacuum. It allows you to clean the gravel without displacing the fish or pebbles. In this way, you can continue cleaning without disturbing the aquatic creatures.
Step 6: Cleaning the decorative elements
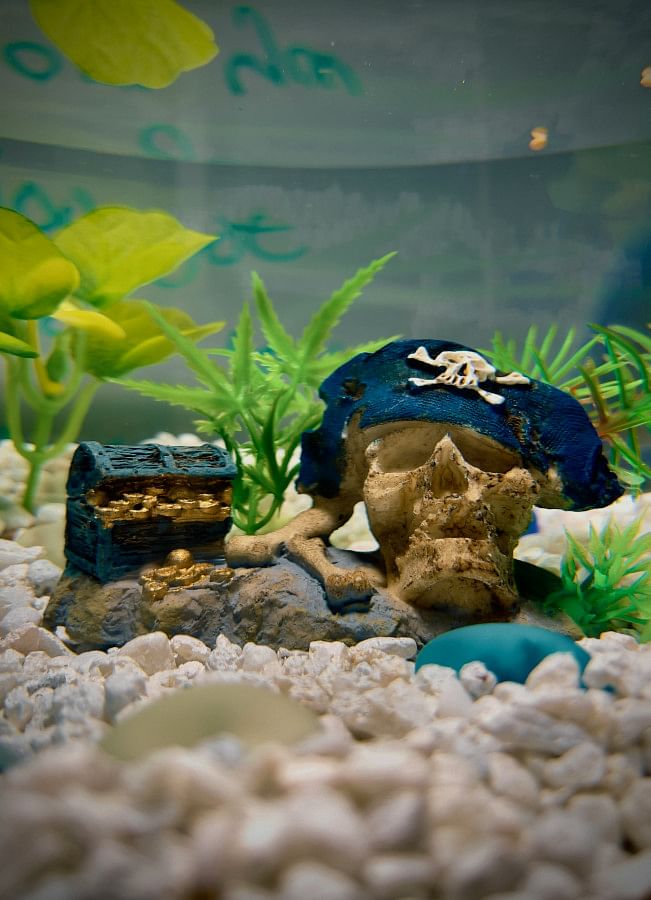
The artificial flowers can be rubbed with a scrub or toothbrush to clear any dust on their surface. It is better to soak the decorative elements in hot tap water for 10-15 minutes.
Step 7: Setting up the clean tank
Now, the final task is to rearrange the tank by adding clean water where your fish can swim happily once more without fearing the presence of harmful microorganisms. Treat the water with a de-chlorinator and wait a few hours before adding it to the tank. This ensures that the water reaches the same temperature as the water in your aquarium.
If you have emptied the whole tank, keep waiting until it reaches room temperature. In a saltwater aquarium, we also need to check the salinity of the water.
Wipe out the exterior surface of the tank using a wipe and just in case those reluctant mineral deposits are hiding there, make sure to use vinegar. Lastly, wash the mechanical filter with tank water instead of tap water to avoid missing out on beneficial bacteria. Replace it every 3-4 weeks and even more frequently if there is a huge debris build-up.


Comments